Easy Gluten-Free Bread
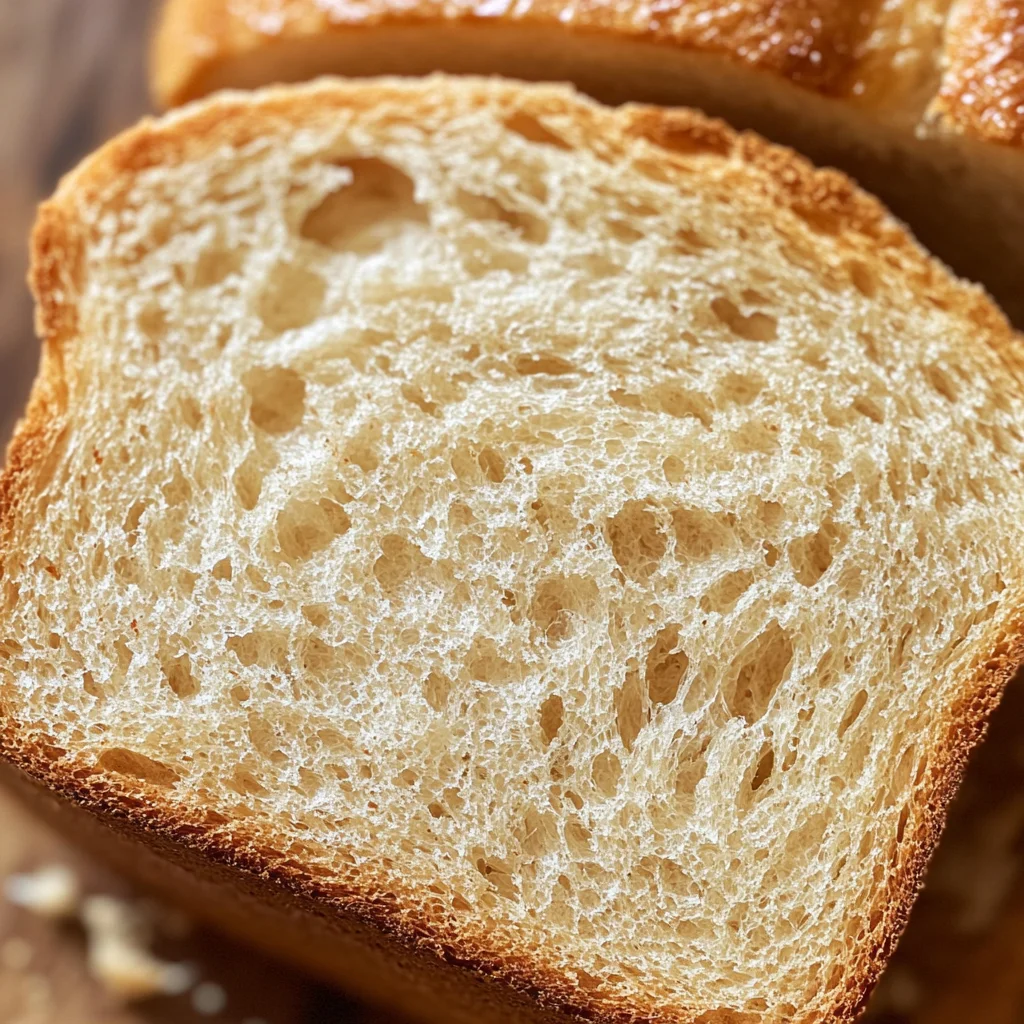
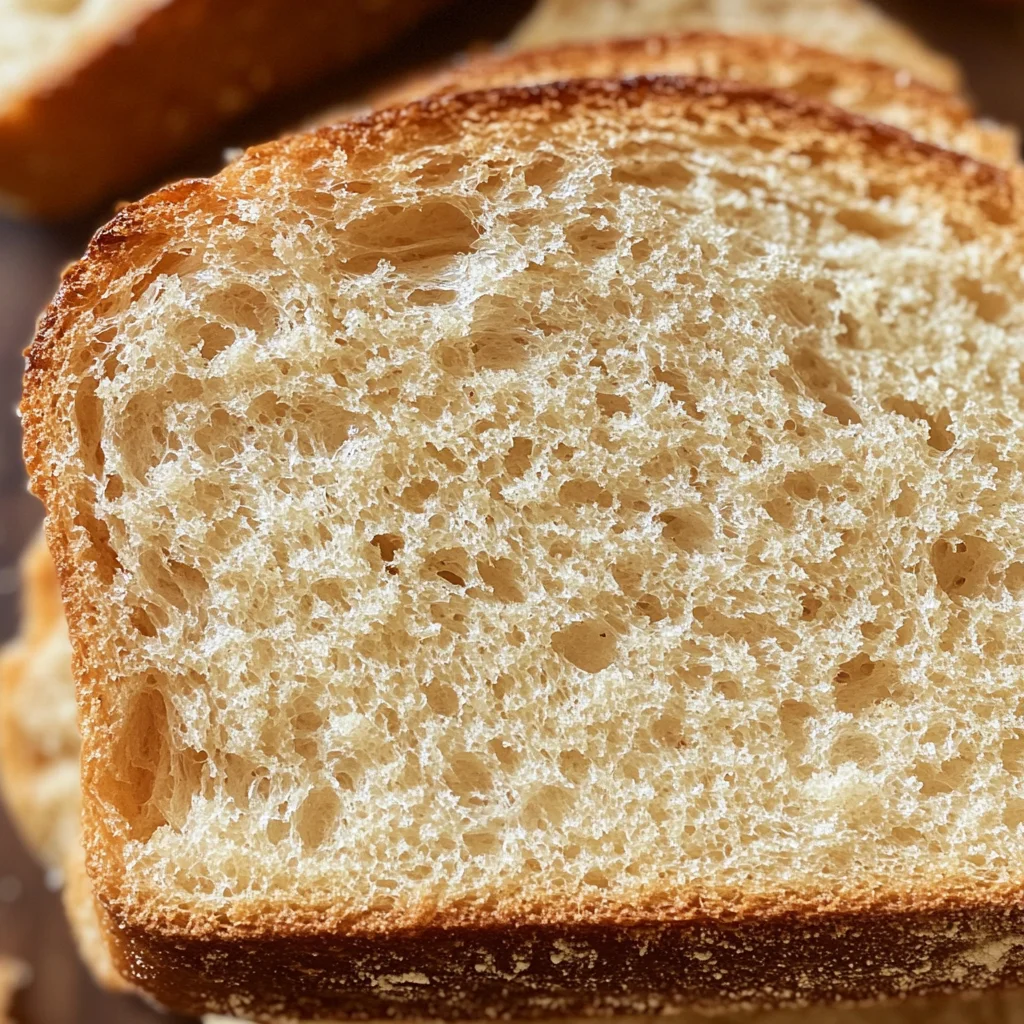
A delicious Easy Gluten-Free Bread recipe awaits you! This soft and fluffy gluten-free white sandwich bread is perfect for any occasion, from a cozy family breakfast to a picnic lunch. With its incredible texture, it bends and squishes without falling apart, making slicing a breeze. Plus, it’s naturally dairy-free, catering to various dietary needs.
Why You’ll Love This Recipe
- Quick and Easy: This recipe comes together in under an hour, making homemade gluten-free bread accessible to everyone.
- Soft Texture: The bread has a delightful softness that rivals traditional breads, ensuring a satisfying bite every time.
- Versatile Use: Ideal for sandwiches, toast, or simply enjoyed with butter—this bread fits any meal.
- Dairy-Free Option: Naturally free of dairy products, this recipe accommodates those with lactose intolerance or dairy allergies.
- Freezable: Make a double batch and freeze for later use; just thaw overnight when you’re ready to enjoy.
Tools and Preparation
To make the Easy Gluten-Free Bread, gather your tools ahead of time for a smooth baking experience.
Essential Tools and Equipment
- 9-inch x 5-inch bread pan or 9-inch x 4-inch small Pullman loaf pan
- Large mixing bowl
- Stand mixer with paddle attachment (optional)
- Measuring cups and spoons
- Plastic wrap
- Kitchen towel
Importance of Each Tool
- Bread Pan: A good quality bread pan ensures even baking and helps the bread maintain its shape.
- Stand Mixer: Using a stand mixer makes combining the ingredients easier and more efficient, especially for thicker doughs.
- Measuring Cups and Spoons: Accurate measurements are crucial in baking; they help achieve the desired texture and flavor.
Ingredients
A gluten-free bread recipe that is easily baked in the oven. This soft gluten-free white sandwich bread has an amazing texture, bends, squishes, and is easy to slice. The bread is also naturally dairy-free.
Ingredients:
– 2 1/2 cups all-purpose gluten-free flour
– 1 teaspoon xanthan gum (leave out if your flour already has it in it)
– 1 teaspoon gluten-free baking powder
– 1 packet rapid rise/instant yeast (2 1/4 teaspoons)
– 1/4 cup extra virgin olive oil
– 1/4 cup honey (You can use agave nectar or maple syrup.)
– 1 teaspoon apple cider vinegar
– 1 1/2 cups warm water (100-110°F)
– 3 egg whites (from large eggs at room temperature)
– 1 teaspoon salt
How to Make Easy Gluten-Free Bread
Step 1: Preheat the Oven
Spray a 9-inch x 5-inch bread pan or 9-inch x 4-inch small Pullman loaf pan with gluten-free cooking spray. Move the top oven rack to the middle rack. Preheat your oven to 350°F.
Step 2: Combine Dry Ingredients
In a large bowl, add the gluten-free flour, baking powder, and instant yeast. Stir well to combine all dry ingredients.
Step 3: Mix Wet Ingredients
Add the olive oil, honey, apple cider vinegar, and warm water to the flour mixture. Mix on low speed for about 1 minute using a stand mixer with a paddle attachment.
Step 4: Add Egg Whites and Salt
Incorporate the egg whites and salt. Mix on medium speed for another minute until the dough resembles thick cake batter.
Step 5: Prepare for Rising
Pour the dough into your greased loaf pan. Cover it with plastic wrap that has been sprayed with cooking spray. Then cover with a kitchen towel. Let it rise in a warm place for about 30 minutes.
Step 6: Bake the Bread
Place the loaf pan in your preheated oven. Bake at 350°F for approximately 30 minutes until golden brown, checking that it reaches an internal temperature of between 205-210ºF.
Step 7: Cool Down
After baking, let the loaf cool in the pan for about 10 minutes before transferring it to a cooling rack. Avoid letting it cool completely in the pan to prevent sogginess.
Step 8: Slice Your Bread
Use a serrated knife for slicing; this helps avoid squishing the soft bread during cutting.
Step 9: Store Leftovers Properly
Once cooled completely, store leftover bread in an airtight container at room temperature. Keep it unsliced until ready to use for optimal freshness.
Step 10: Freezing Tips
If needed, wrap the cooled loaf tightly in plastic wrap first, then foil or freezer paper before placing it in a freezer bag. It can be stored frozen for up to three months; thaw overnight in the refrigerator when ready to enjoy again.
How to Serve Easy Gluten-Free Bread
This easy gluten-free bread is versatile and can be enjoyed in many ways. Whether you prefer it toasted, as a sandwich, or with a delicious spread, here are some great serving suggestions.
As a Sandwich
- Classic Sandwich: Use slices to make your favorite sandwich with deli meats, cheese, and veggies.
- Breakfast Sandwich: Fill with scrambled eggs and avocado for a hearty breakfast option.
With Spreads
- Nut Butter: Spread almond or peanut butter for a protein-packed snack.
- Avocado Toast: Top with smashed avocado, salt, and pepper for a trendy dish.
For Dipping
- Olive Oil and Balsamic Vinegar: Serve warm slices with olive oil and balsamic vinegar for dipping.
- Hummus: Pair with your favorite hummus for a tasty appetizer.
As Toast
- Garlic Bread: Brush slices with garlic butter and toast until golden for a flavorful side dish.
- French Toast: Dip slices in an egg mixture and cook on the griddle for a gluten-free twist on French toast.
How to Perfect Easy Gluten-Free Bread
Making the perfect easy gluten-free bread requires attention to detail. Here are some tips to help you achieve that perfect loaf every time.
- Use Fresh Ingredients: Ensure your yeast is fresh for optimal rise; expired yeast can lead to dense bread.
- Measure Accurately: Use a kitchen scale for precise measurements of flour and liquids, improving consistency.
- Warm Water Temperature Matters: Use water that’s between 100-110°F to activate the yeast without killing it.
- Let It Rise Properly: Allow enough time for the dough to rise in a warm place; this enhances texture and flavor.
- Cool Completely Before Slicing: Let the bread cool fully on a rack before slicing; this prevents moisture retention.
Best Side Dishes for Easy Gluten-Free Bread
Pairing your easy gluten-free bread with side dishes can enhance any meal. Here are some fantastic options:
- Salad: A light green salad with vinaigrette complements the bread’s texture perfectly.
- Soup: Serve alongside tomato soup or minestrone for a comforting meal combo.
- Roasted Vegetables: Seasonal roasted veggies add color and nutrition to your table.
- Cheese Platter: Include various cheeses and fruits for an elegant touch when serving bread as an appetizer.
- Pasta Salad: A refreshing pasta salad can balance the heaviness of the bread while providing different flavors.
- Grilled Chicken Skewers: These add protein and flavor that pair well with slices of bread.
Common Mistakes to Avoid
Baking gluten-free bread can be tricky, but avoiding common mistakes can lead to success. Here are some pitfalls to watch for:
- Using the wrong flour: Not all gluten-free flours behave the same. Always choose a blend that is suitable for bread-making to ensure the best texture.
- Skipping xanthan gum: This ingredient helps bind the bread. If your flour doesn’t contain it, be sure to add it for better structure.
- Not measuring ingredients accurately: Gluten-free baking relies heavily on precise measurements. Use a kitchen scale for accuracy.
- Ignoring rising time: Gluten-free dough needs adequate time to rise. Don’t rush this step; allow it to rise until it doubles in size for optimal results.
- Overbaking your bread: Keep an eye on baking time. Overbaked gluten-free bread can become dry and crumbly, so check for a golden color and an internal temperature of 205-210°F.
Storage & Reheating Instructions
Refrigerator Storage
- Store in an airtight container: Keeps the bread fresh and prevents drying out.
- Duration: The bread can last up to 5 days in the refrigerator.
Freezing Easy Gluten-Free Bread
- Wrap tightly: Use plastic wrap followed by foil or freezer paper.
- Duration: The bread can be frozen for up to 3 months without losing quality.
Reheating Easy Gluten-Free Bread
- Oven: Preheat to 350°F and warm the slices for about 10 minutes for a fresh taste.
- Microwave: Heat individual slices on low power for about 15-20 seconds, checking frequently to avoid getting chewy.
- Stovetop: Warm slices in a skillet over medium heat until slightly crispy, enhancing flavor.
Frequently Asked Questions
Here are some common questions about making Easy Gluten-Free Bread:
What is Easy Gluten-Free Bread?
Easy Gluten-Free Bread is a simple recipe that allows anyone to bake soft, delicious gluten-free bread right at home without complicated techniques.
Can I use a different sweetener instead of honey?
Yes! You can substitute honey with agave nectar or maple syrup. Each will add its unique flavor while keeping the recipe gluten-free.
How do I know when my bread is done baking?
The bread should be golden brown and reach an internal temperature between 205-210°F. A toothpick inserted should come out clean.
Can I make this recipe vegan?
You can replace egg whites with flaxseed meal or aquafaba as a binding agent, making it suitable for a vegan diet while still being gluten-free.
Final Thoughts
This Easy Gluten-Free Bread recipe offers a delightful way to enjoy homemade bread without gluten. Its soft texture makes it perfect for sandwiches or toast, and you can customize it with herbs, seeds, or even cheese. Give this recipe a try, and enjoy the wonderful aroma of fresh-baked bread in your kitchen!
Easy Gluten-Free Bread
Enjoy the delightful experience of making Easy Gluten-Free Bread, a recipe designed for everyone who craves soft, fluffy bread without gluten. This versatile white sandwich loaf is perfect for any occasion—be it a family breakfast, picnic lunch, or a cozy dinner. With its wonderful texture that holds together beautifully, slicing becomes effortless. Plus, it’s naturally dairy-free, making it an excellent choice for those with dietary restrictions. In just under an hour, you can whip up this nutritious homemade loaf that freezes well for later enjoyment.
- Prep Time: 15 minutes
- Cook Time: 30 minutes
- Total Time: 45 minutes
- Yield: Approximately 12 slices 1x
- Category: Bread
- Method: Baking
- Cuisine: Gluten-Free
Ingredients
- 2 1/2 cups all-purpose gluten-free flour
- 1 teaspoon xanthan gum (if not included in your flour)
- 1 teaspoon gluten-free baking powder
- 1 packet rapid rise/instant yeast (2 1/4 teaspoons)
- 1/4 cup extra virgin olive oil
- 1/4 cup honey (or agave/maple syrup)
- 1 teaspoon apple cider vinegar
- 1 1/2 cups warm water (100-110°F)
- 3 egg whites
- 1 teaspoon salt
Instructions
- Preheat the oven to 350°F and prepare your bread pan with cooking spray.
- In a large bowl, mix the dry ingredients: gluten-free flour, baking powder, and yeast.
- Combine wet ingredients: Add olive oil, honey, apple cider vinegar, and warm water to the dry mixture. Mix on low speed for about one minute.
- Incorporate egg whites and salt; mix on medium speed until the dough resembles thick cake batter.
- Pour dough into the greased pan and let it rise covered for about 30 minutes in a warm place.
- Bake for approximately 30 minutes or until golden brown and internal temperature reaches between 205-210°F.
- Allow cooling in the pan for ten minutes before transferring to a cooling rack.
- Slice with a serrated knife once cooled.
Nutrition
- Serving Size: 1 slice (55g)
- Calories: 130
- Sugar: 3g
- Sodium: 180mg
- Fat: 5g
- Saturated Fat: 0.5g
- Unsaturated Fat: 4g
- Trans Fat: 0g
- Carbohydrates: 20g
- Fiber: 2g
- Protein: 3g
- Cholesterol: 0mg